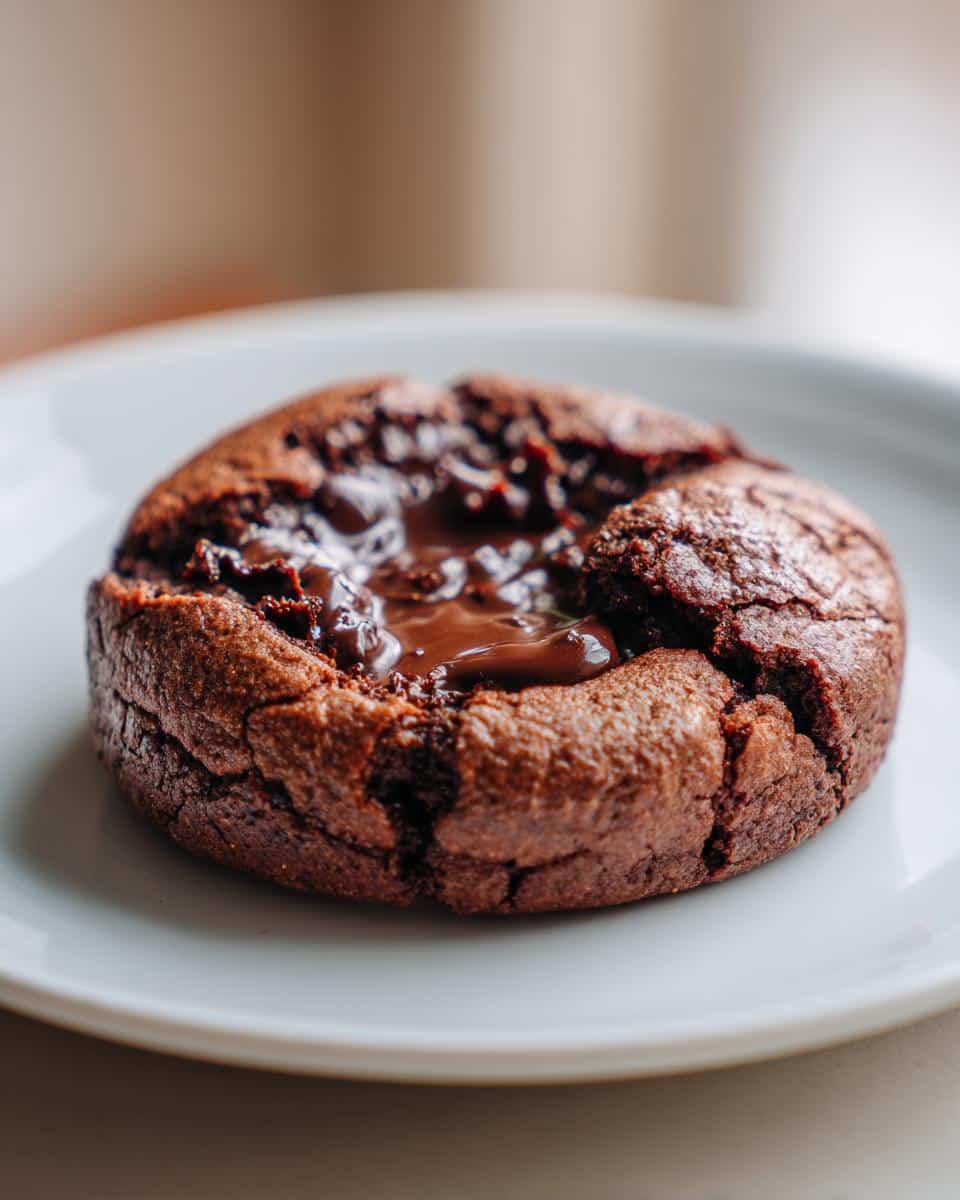
Oh my gosh, if you’re a chocolate lover, you’re about to meet your new obsession – these molten lava cookies I still remember the first time I pulled a batch from the oven, watching that glorious chocolate center ooze out with every bite. They taste fancy, but trust me, they’re ridiculously easy – ready in under 30 minutes with ingredients you probably have right now. What makes them special? That warm, melty center that makes you close your eyes and savor every bite. I’ve tested this recipe dozens of times (tough job, I know) and nailed down all the little tricks to guarantee cookie perfection every time. Warning: these disappear fast, so you might want to double the batch
Table of Contents
Why You’ll Love These Molten Lava Cookies
Let me count the ways these cookies will steal your heart:
- Quick magic: From bowl to gooey goodness in under 30 minutes – perfect for sudden chocolate cravings
- Rich & decadent: That molten center? Pure chocolate heaven melting on your tongue
- Foolproof fun: My neighbor’s 10-year-old nailed these on her first try (and begged for more)
- Party hero: Watch eyes light up when you serve these warm – they disappear faster than you can say “second batch”
Ingredients for Molten Lava Cookies
Here’s everything you’ll need to create these chocolate wonders—and yes, that chocolate is non-negotiable I learned the hard way that skimping on quality ruins the magic. Gather:
- 1 cup all-purpose flour – spooned and leveled, not packed (trust me, this matters)
- 1/2 cup cocoa powder – Dutch-processed gives the richest color, but natural works too
- 1/2 tsp baking powder – check it’s fresh so your cookies rise just right
- 1/4 tsp salt – enhances all those chocolatey flavors
- 1/2 cup unsalted butter, melted – I microwave mine in 10-second bursts to avoid explosions
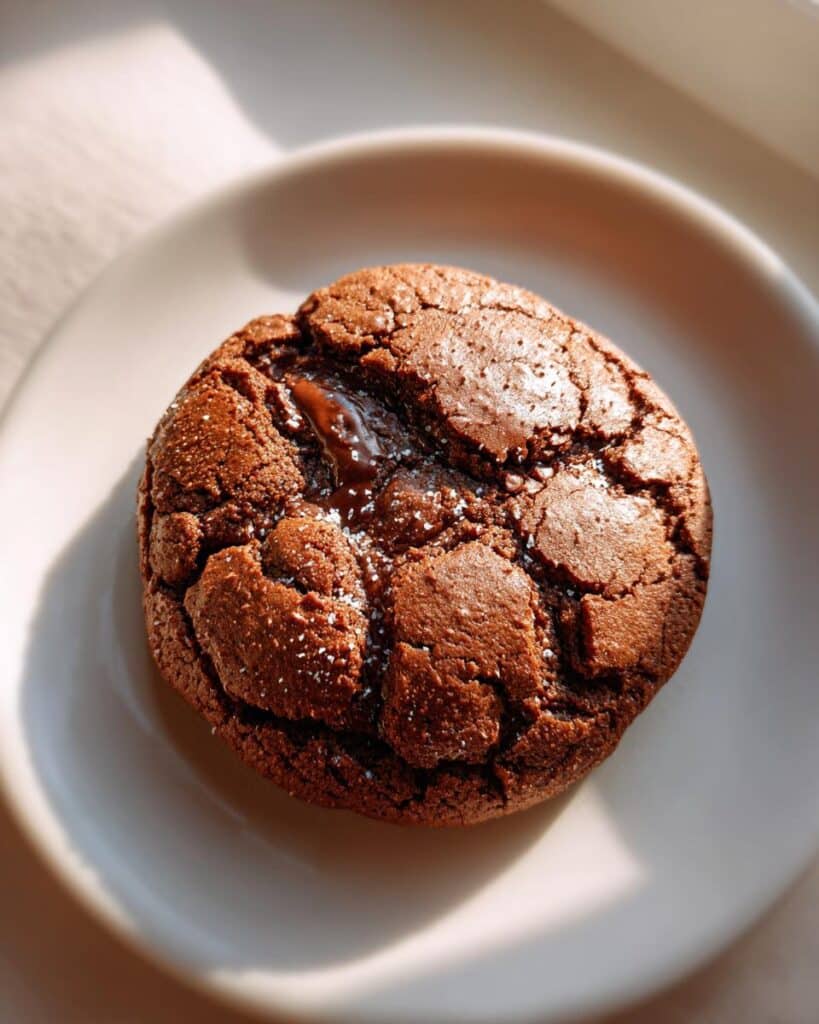
- 3/4 cup granulated sugar – for that perfect crackly top
- 1/4 cup brown sugar – my secret for extra chewiness
- 1 large egg – room temperature blends smoother
- 1 tsp vanilla extract – real stuff only, no imitation
- 4 oz semi-sweet chocolate chunks – chop a bar for melty pockets, or use high-quality chips in a pinch
See that chocolate at the end? That’s your molten gold—don’t substitute with chips unless absolutely desperate. Your future self will thank you when that first warm bite oozes onto your spoon
How to Make Molten Lava Cookies
Okay, let’s get to the fun part – making those glorious, oozy cookies Here’s exactly how I do it:
- Preheat that oven to 350°F (175°C) – no cheating on the preheat time I learned the hard way that a cold oven makes flat cookies.
- Whisk your dry team – flour, cocoa powder (sift it if it’s lumpy), baking powder and salt. I just use a fork – no fancy equipment needed.
- Butter business time – mix melted butter with both sugars until it looks like glossy wet sand. Pro tip: let your melted butter cool slightly so it doesn’t cook the egg.
- Egg-cellent addition – beat in the egg and vanilla until everything’s happy and combined. Don’t overdo it – we’re not making cake here
- Bring the crew together – gently fold in dry ingredients just until no flour streaks remain. The dough will be thick – that’s perfect
- Hide the treasure – divide dough into 8 balls (I use an ice cream scoop for even sizes). Press a chocolate chunk deep into each center, then roll to seal it in.
- Bake with eagle eyes for 10-12 minutes. The edges will look set but the centers should still jiggle slightly when nudged. They’ll firm up as they cool.
- Resist temptation Let cookies rest 5 minutes on the tray – that molten center is lava-hot straight from the oven
Pro Tip for Perfect Molten Centers
Here’s my golden rule: underbake slightly and use the best chocolate you can find. Cheap chocolate won’t melt properly – splurge on the good stuff for that wow-factor ooze
Equipment You’ll Need
No fancy gadgets required here – just grab:
- 2 mixing bowls – one for dry stuff, one for wet (I sometimes cheat and reuse the measuring cup)
- Baking sheet – no need to grease if you use…
- Parchment paper – my lifesaver for easy cleanup and no stuck cookies
Nice-to-have but not essential: a cookie scoop keeps portions even, and a sifter helps with lumpy cocoa powder. That’s it – now let’s make some magic
Tips for the Best Molten Lava Cookies
Want bakery-level perfection every time? Here are my hard-earned secrets:
- Chill sticky dough for 15 minutes if it’s too soft to handle – warm dough spreads too much
- Bury those chocolate chunks deep in the center and seal them tight – no peeking chocolate means maximum surprise lava flow
- Watch like a hawk – even 1 extra minute can turn molten centers into mere memories
- Troubleshooting tip: If centers harden, your oven runs hot – try baking at 325°F next time
- Sprinkle sea salt on warm cookies for an addictive sweet-salty contrast
Remember – these cookies continue cooking slightly on the tray, so when in doubt, pull them out early
Storing and Reheating Molten Lava Cookies
Okay, confession time – these rarely last long enough to store at my house But when they do (miracle of miracles), here’s how to keep that molten magic alive:
- Room temp storage: Tuck cooled cookies in an airtight container with parchment between layers – they’ll stay dreamy for about 2 days
- Microwave revival: Zap for 10 seconds to bring back that glorious ooze – just like fresh from the oven
- Freezer hack: Freeze unbaked dough balls for up to 3 months – just add 1-2 minutes to bake time when craving strikes
Pro tip: If you’re reheating, place a damp paper towel over the cookie – it keeps the edges soft while the center gets gloriously molten again
Nutritional Information
Okay, let’s be real – we’re not eating molten lava cookies for their health benefits But since you asked (or your conscience did), here’s the scoop per cookie based on my exact ingredients:
- Calories: 220
- Total Fat: 12g
- Saturated Fat: 7g
- Sugar: 18g
- Protein: 3g
Remember, these are estimates – your actual numbers might dance around a bit depending on your chocolate brand or exact measurements. My philosophy? Life’s too short to stress over cookie math when that warm chocolate center is calling your name
Can I use milk chocolate instead of semi-sweet?
You can, but it’ll be sweeter and might not hold its shape as well. If you’re a milk chocolate fan, try mixing half milk and half semi-sweet chunks for the best of both worlds
Why didn’t my centers stay molten?
Two likely culprits: overbaking (even 1 minute too long) or using chocolate chips instead of chunks. Chips have stabilizers that prevent proper melting – always go for real chocolate bars chopped up.
Can I freeze the dough?
Absolutely, Freeze the dough balls on a tray first, then transfer to a bag. Bake straight from frozen, adding about 2 minutes to the bake time. Perfect for emergency chocolate cravings
Can I make these gluten-free?
I’ve had success swapping in a 1:1 gluten-free flour blend – just make sure it contains xanthan gum. The texture changes slightly but that molten center still steals the show
Final Thoughts
There you have it – my foolproof path to molten chocolate magic I’d love to hear how your cookies turn out (tag me if you share pics). Now go forth and bake – and remember, the best bites come with closed eyes and a happy chocolate sigh. Enjoy your warm, gooey treasures
These Irresistible Molten Lava Cookies feature decadent, gooey centers that make every bite pure indulgence. For another chocolate-packed treat, try our Fudgy Brownies, or if you love cookies, our Chocolate Chunk Cookies are a classic favorite. Find more heavenly desserts in our sweet recipes collectionFollow us in Facebook
PrintIrresistible Molten Lava Cookies With Decadent Centers
Soft chocolate cookies with a gooey molten center, perfect for chocolate lovers.
- Prep Time: 15 mins
- Cook Time: 12 mins
- Total Time: 27 mins
- Yield: 8 cookies
- Category: Dessert
- Method: Baking
- Cuisine: American
- Diet: Vegetarian
Ingredients
- 1 cup all-purpose flour
- 1/2 cup cocoa powder
- 1/2 tsp baking powder
- 1/4 tsp salt
- 1/2 cup unsalted butter, melted
- 3/4 cup granulated sugar
- 1/4 cup brown sugar
- 1 large egg
- 1 tsp vanilla extract
- 4 oz semi-sweet chocolate chunks
Instructions
- Preheat your oven to 350°F (175°C).
- Whisk flour, cocoa powder, baking powder, and salt in a bowl.
- In another bowl, mix melted butter, granulated sugar, and brown sugar.
- Add egg and vanilla extract, then blend well.
- Gradually fold in the dry ingredients until combined.
- Divide dough into 8 portions and press a chocolate chunk into the center of each.
- Roll into balls and place on a lined baking sheet.
- Bake for 10-12 minutes until edges set but centers remain soft.
- Cool slightly before serving.
Notes
- Do not overbake to keep the center molten.
- Use high-quality chocolate for best results.
- Store leftovers in an airtight container for up to 2 days.


