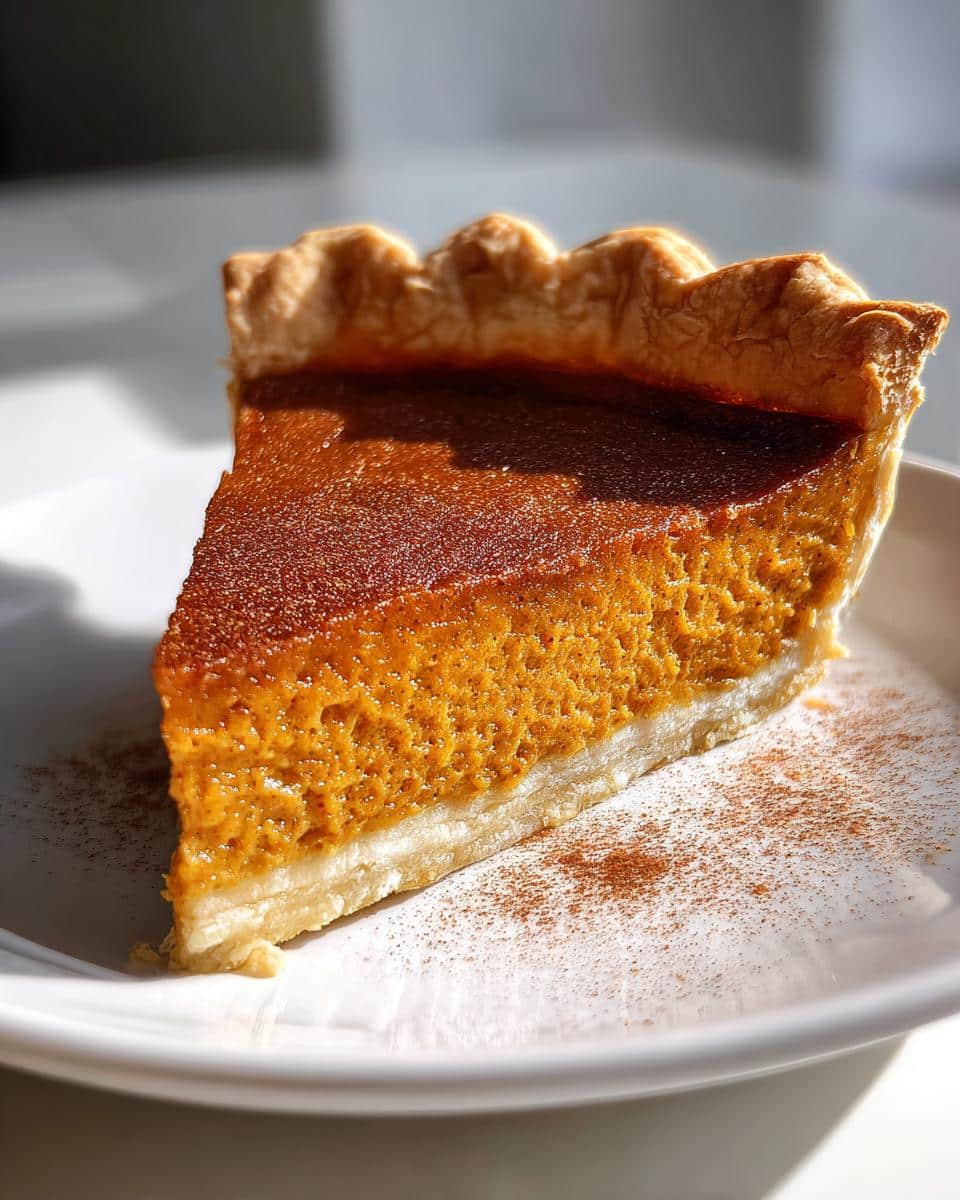
You know that moment when the smell of cinnamon and pumpkin hits you the second you walk into a Thanksgiving kitchen? That’s the magic I’m chasing every time I make my perfect pumpkin pie from scratch. This isn’t just any pie – it’s the one my grandma would wink about when people asked for her secret. The flaky, buttery crust shatters just right against that velvety spiced filling that’s never too sweet, never too dense. I’ve tweaked this recipe for years, and trust me, once you taste that first bite with a dollop of fresh whipped cream, you’ll understand why I’m so obsessed.
PrintPerfect Pumpkin Pie from Scratch: Grandma’s Magical 5-Star

A classic pumpkin pie with a flaky crust and smooth, spiced filling. Easy to make from scratch for any occasion.
- Prep Time: 15 minutes
- Cook Time: 55 minutes
- Total Time: 1 hour 10 minutes
- Yield: 8 servings
- Category: Dessert
- Method: Baking
- Cuisine: American
- Diet: Vegetarian
Ingredients
- 1 3/4 cups pumpkin puree
- 3/4 cup granulated sugar
- 1/2 tsp salt
- 1 tsp ground cinnamon
- 1/2 tsp ground ginger
- 1/4 tsp ground cloves
- 2 large eggs
- 1 can (12 oz) evaporated milk
- 1 unbaked 9-inch pie crust
Instructions
- Preheat oven to 425°F.
- Mix pumpkin, sugar, salt, and spices in a bowl.
- Beat in eggs and evaporated milk.
- Pour filling into unbaked pie crust.
- Bake for 15 minutes at 425°F, then reduce heat to 350°F.
- Bake for 40-50 minutes until a knife inserted comes out clean.
- Cool on a wire rack before serving.
Notes
- Use fresh pumpkin puree or canned for convenience.
- Blind bake the crust for 10 minutes if you prefer a crispier base.
- Let the pie cool completely before slicing.
Why You’ll Love This Perfect Pumpkin Pie from Scratch
This pie isn’t just delicious – it’s downright magical. Here’s why it’ll become your go-to recipe:
- Effortless elegance: Looks fancy but comes together with simple steps even beginner bakers can nail
- Flavor bomb: That perfect balance of warm spices lets the pumpkin flavor shine through
- Holiday hero: The pie everyone requests once they’ve tried it (I bring extras because it disappears fast)
- Make-ahead dream: Tastes even better the next day as the flavors meld together beautifully
- Versatile star: Equally at home on a Thanksgiving table or a random Tuesday when you need comfort food
Trust me – one bite of that creamy filling against the flaky crust, and you’ll be hooked.
Ingredients for Perfect Pumpkin Pie from Scratch
Here’s what you’ll need to create this dreamy pie. Trust me, quality ingredients make all the difference.
- 1 3/4 cups pumpkin puree (canned works great, but fresh puree if you’re feeling fancy)
- 3/4 cup granulated sugar (don’t skimp – it balances the spices perfectly)
- 1/2 tsp salt (just enough to enhance all the flavors)
- 1 tsp ground cinnamon (the star of the spice blend)
- 1/2 tsp ground ginger (adds that warm, slightly zippy kick)
- 1/4 tsp ground cloves (a little goes a long way for depth)
- 2 large eggs, beaten (room temperature is best for smooth mixing)
- 1 can (12 oz) evaporated milk (this is the secret to that creamy texture)
- 1 unbaked 9-inch pie crust (homemade or store-bought – no judgment here)
That’s it, Simple, classic, and oh-so-delicious. Let’s get baking.
Equipment You’ll Need
You don’t need fancy gadgets for this pie – just a few basics every kitchen probably already has:
- Mixing bowls (one large, one medium for all that whisking action)
- Whisk (to get that filling silky smooth)
- 9-inch pie dish (glass or ceramic for even baking)
- Oven (preheated and ready to work its magic)
That’s it, Simple tools for a seriously impressive pie.
How to Make Perfect Pumpkin Pie from Scratch
Alright, let’s get to the good stuff. Making this pie is easier than you think – just follow these simple steps and you’ll have a showstopper dessert in no time.
Step 1: Prepare the Filling
First things first – preheat that oven to 425°F. While it’s heating up, grab your biggest mixing bowl and whisk together the pumpkin puree, sugar, salt, cinnamon, ginger, and cloves. Really get in there and mix until it’s completely smooth – no lumps allowed. Then beat in those eggs one at a time, making sure each is fully incorporated before adding the next. Finally, slowly whisk in the evaporated milk until you’ve got this gorgeous, velvety liquid that smells like autumn in a bowl.
Step 2: Assemble and Bake
Now, carefully pour that beautiful filling into your unbaked pie crust – I like to do this on the oven rack to avoid spills. Pop it in the oven and bake at 425°F for exactly 15 minutes. This initial high heat helps set the crust. Then, without opening the oven door (seriously, resist the urge), reduce the temperature to 350°F and bake for another 40-50 minutes. You’ll know it’s done when the edges are set but the center still jiggles slightly, and a knife inserted near the center comes out clean.
Step 3: Cooling and Serving
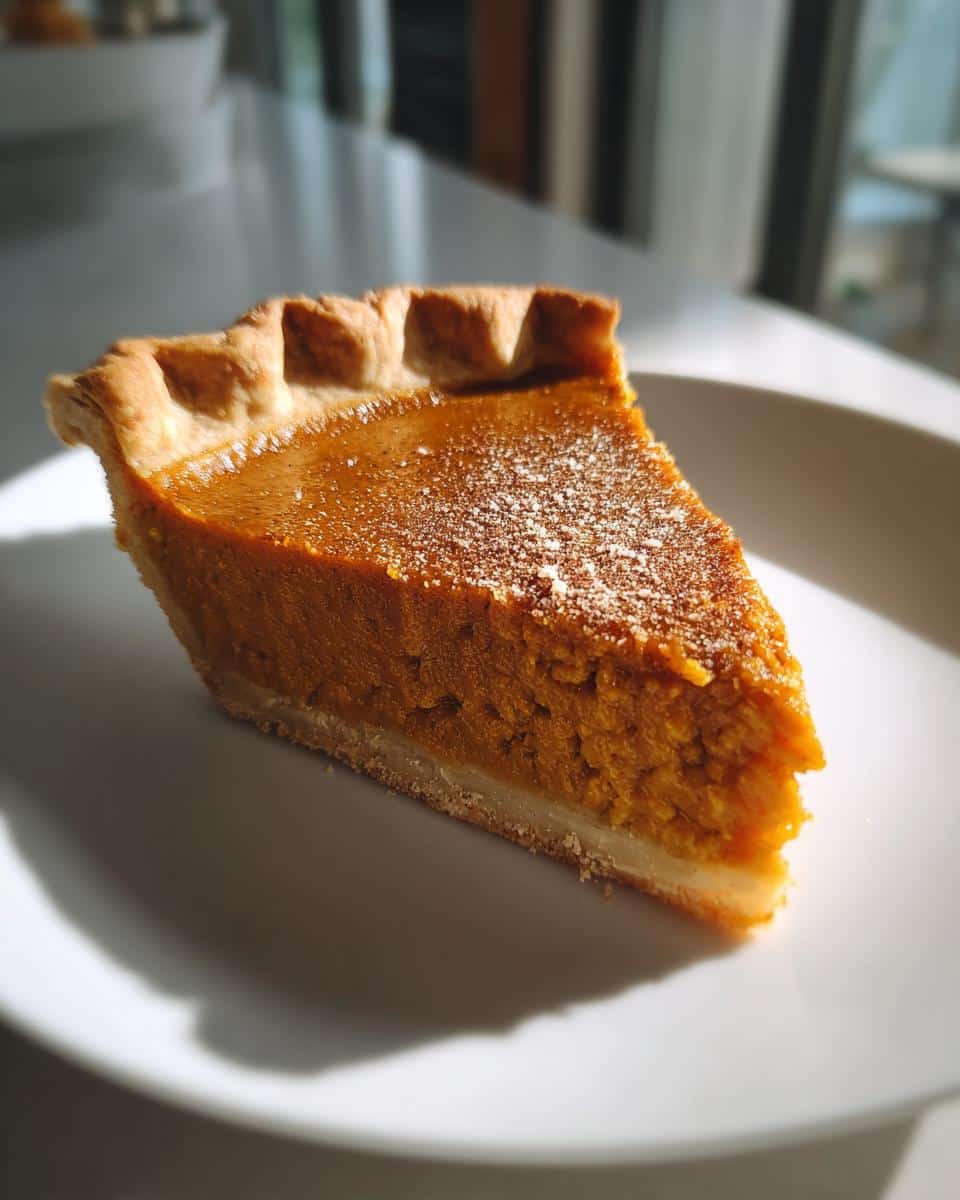
Here’s where patience comes in – let the pie cool completely on a wire rack, at least 2 hours. I know it’s tempting to dig in, but trust me, waiting means cleaner slices. Once cooled, top with freshly whipped cream (I add a dash of vanilla to mine) and maybe a sprinkle of cinnamon for that extra wow factor. The pie slices best when chilled, but tastes amazing slightly warmed too – it’s your call.
Tips for the Perfect Pumpkin Pie from Scratch
After making this pie at least a hundred times (no exaggeration), I’ve picked up some tricks that guarantee perfection every single time:
- Blind bake that crust: For an extra crispy bottom, bake your empty pie shell for 10 minutes at 350°F before adding filling. Just prick the bottom with a fork and weigh it down with pie weights or dried beans.
- Don’t overmix: Once you add the evaporated milk, stir just until combined. Overworking the filling can make it dense instead of silky.
- Oven thermometer is key: Pumpkin pie is finicky – an oven running hot or cold can ruin the texture. I keep a little thermometer in mine to be sure.
- Prevent cracks: Let the pie cool gradually in the oven with the door slightly ajar for 30 minutes before removing. No more ugly cracks.
Follow these, and you’ll have pie perfection every time.
Ingredient Substitutions and Notes
Don’t stress if you’re missing something – this pie is super flexible. Canned pumpkin puree works beautifully (Libby’s is my go-to), but if you’re using fresh, make sure to drain excess water in cheesecloth first. No evaporated milk? Half-and-half or whole milk can work in a pinch, though the texture won’t be quite as rich. I’ve even used coconut milk for my dairy-free friends – just add a teaspoon of cornstarch to help it set. And that pie crust? Store-bought is fine (we’ve all been there), but if you’ve got time, my all-butter homemade crust takes it over the top. The key is using what you’ve got and making it yours.
Serving and Storage
Honestly, this pie tastes divine any way you serve it – slightly warm with melting whipped cream, or chilled straight from the fridge when you need that perfect firm slice. Leftovers? Just cover loosely with plastic wrap and refrigerate for up to 4 days. For that fresh-baked feel, pop individual slices in a 300°F oven for 5 minutes – it’s like magic how the spices wake right back up.
Nutritional Information
Each glorious slice of this perfect pumpkin pie from scratch clocks in at about 320 calories – totally worth it. You’re looking at 12g fat (5g saturated), 45g carbs (2g fiber), and 6g protein per serving. Of course, these numbers can vary based on your exact ingredients and crust thickness. Remember, it’s a dessert – savor every guilt-free bite.
FAQs About Perfect Pumpkin Pie from Scratch
Can I freeze pumpkin pie?
Absolutely, Just cool it completely first, then wrap tightly in plastic wrap and foil. It’ll keep beautifully for up to 2 months. Thaw overnight in the fridge when you’re ready to enjoy it again.
Why did my pie crack?
Don’t worry – it still tastes amazing. Cracks usually happen from overbaking or cooling too fast. Next time, try pulling it out when the center still jiggles slightly and let it cool gradually in the turned-off oven with the door cracked. For more on preventing cracks, check out these tips on preventing pie cracks.
Can I use fresh pumpkin instead of canned?
You bet, Just make sure to use sugar pie pumpkins (not carving pumpkins) and drain the puree well in cheesecloth. Fresh pumpkin gives a slightly lighter texture that’s absolutely delicious. For more on choosing the right pumpkin, see this guide to sugar pie pumpkins.
How do I know when the pie is done?
The knife test never lies. Insert a thin knife near the center – it should come out clean. The edges will be set but the center should still wobble slightly like Jell-O when you gently shake the pan.
Can I make this ahead of time?
Please do, In fact, the flavors get even better after a day in the fridge. Just wait to add whipped cream until right before serving. It’s the ultimate make-ahead Thanksgiving dessert.
Share Your Perfect Pumpkin Pie
Nothing makes me happier than seeing your versions of this pie. Did you add a special twist? Maybe a secret spice or fancy crust design? Leave a comment below or tag me in your photos – I love hearing how this recipe becomes part of your own family traditions. Happy baking, friends.
Follow us on Pinterest for more delicious recipes.


