Oh, chocolate truffles – my absolute weakness. There’s something magical about rolling up your sleeves and making these rich, velvety bites at home. Forget fancy equipment or complicated techniques – with just a handful of simple ingredients and about 15 minutes of hands-on time, you’ll have a batch of luxurious homemade chocolate truffles that’ll impress everyone. I first tried making them years ago when I needed a last-minute hostess gift, and now they’re my go-to for special occasions (or let’s be honest – just because it’s Tuesday). The best part? That moment when you bite into the soft chocolate center dusted with cocoa powder… pure bliss.
Table of Contents
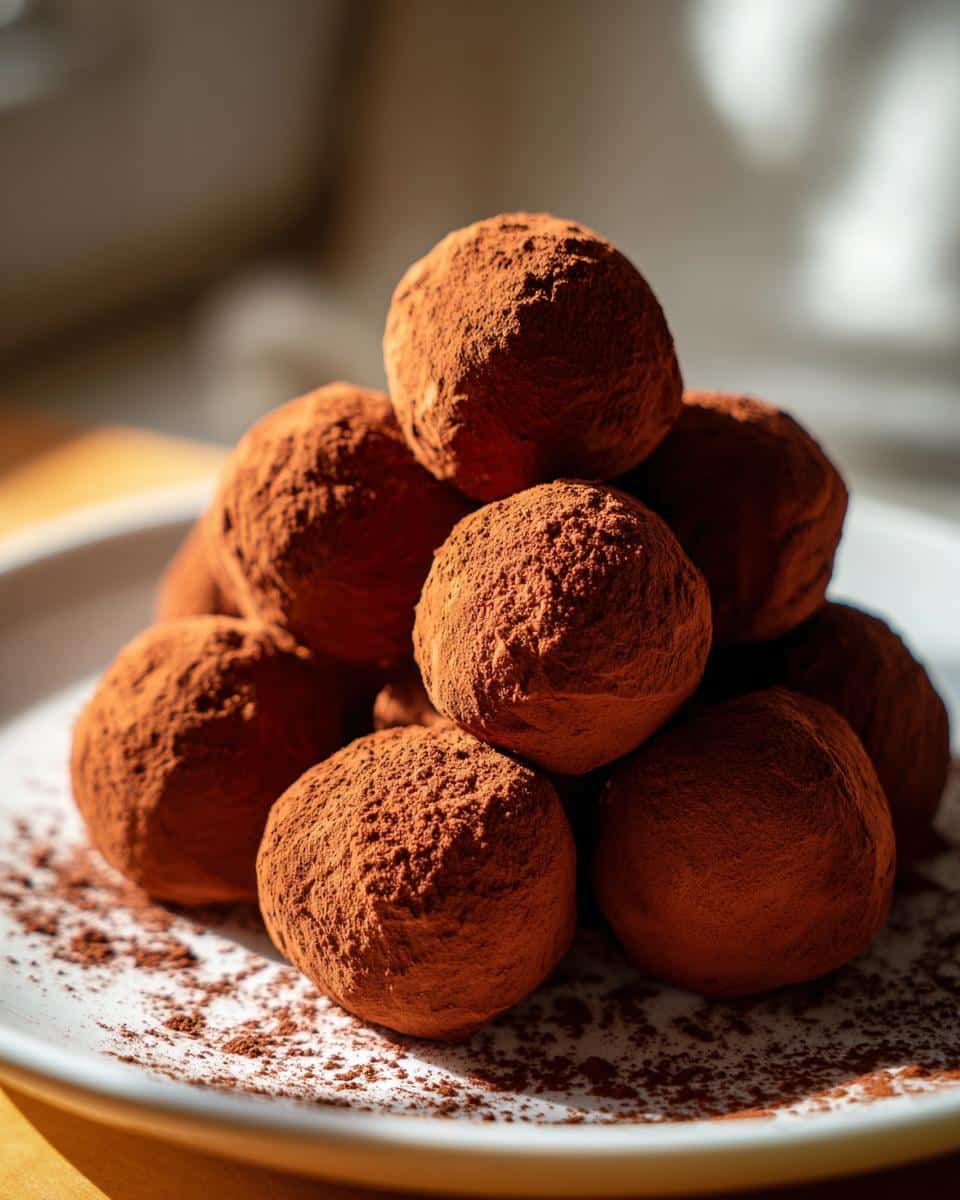
Irresistible Chocolate Truffles in Just 15 Minutes Hands-On

Rich and creamy chocolate truffles made with simple ingredients. Perfect for gifting or enjoying as a dessert.
- Prep Time: 15 mins
- Cook Time: 5 mins
- Total Time: 2 hours 20 mins
- Yield: 20 truffles
- Category: Dessert
- Method: No Bake
- Cuisine: French
- Diet: Vegetarian
Ingredients
- 8 oz dark chocolate
- 1/2 cup heavy cream
- 1 tbsp unsalted butter
- 1 tsp vanilla extract
- 1/4 cup cocoa powder
Instructions
- Chop the chocolate into small pieces.
- Heat the cream and butter until simmering.
- Pour the hot cream over the chocolate and let sit for 2 minutes.
- Stir until smooth, then add vanilla.
- Refrigerate for 2 hours.
- Scoop and roll into balls, then coat with cocoa powder.
Notes
- Use high-quality chocolate for best results.
- Truffles can be stored in the fridge for up to a week.
Why You’ll Love These Chocolate Truffles
Let me tell you why these little chocolate gems have stolen my heart (and probably will steal yours too). First off, they’re ridiculously easy – no fancy skills needed, just stir, chill, and roll. No oven? No problem. These truffles come together with just a saucepan and some patience while they set up in the fridge. The taste? Pure luxury in every bite – that rich chocolate center practically melts on your tongue. And here’s my favorite part: they make you look like a total rockstar when you gift them. Wrap them up pretty, and suddenly you’re that person who makes homemade chocolates. Trust me, once you try these, store-bought truffles just won’t compare.
Ingredients for Chocolate Truffles
Gather these simple ingredients – you probably have most in your kitchen already. The magic happens with just:
- 8 oz dark chocolate (chopped small – trust me, this helps it melt evenly)
- 1/2 cup heavy cream (don’t skimp – this creates that dreamy texture)
- 1 tbsp unsalted butter (room temperature works best)
- 1 tsp vanilla extract (the real stuff makes a difference)
- 1/4 cup cocoa powder (for that classic truffle dusting)
That’s it, Five ingredients for chocolate heaven. I always use good quality chocolate – it’s the star of the show here.
The Simple Tools You Need
Here’s the beautiful part – you don’t need fancy equipment to make these chocolate truffles. Just grab:
- A medium mixing bowl (glass works best for melting)
- A small saucepan for heating the cream
- Measuring cups (for perfect proportions)
- A wooden spoon or spatula for stirring
- A baking sheet lined with parchment paper
That’s seriously it – my kind of baking. No stand mixers or special gadgets required.
How to Make Chocolate Truffles
Ready for the fun part? Making these chocolate truffles is like a little kitchen magic show – simple steps that transform into something spectacular. Follow along and I’ll walk you through each stage with my best tips from years of (happy) trial and error.
Step 1: Melt the Chocolate
First, grab your dark chocolate and chop it into small, even pieces – about the size of chocolate chips works perfectly. Smaller pieces melt faster and more evenly. I like to do this right on my cutting board with a sharp knife (careful of those fingers). The chocolate goes into a heatproof bowl – glass is my favorite because I can see what’s happening in there.
Step 2: Heat the Cream and Butter
Now for the liquid gold. Pour your heavy cream into a small saucepan with the butter and heat it gently over medium-low. You’re looking for tiny bubbles around the edges – what we call a simmer. Don’t let it boil (that’s too hot) or the texture won’t be right. When you see those little bubbles, immediately take it off the heat.
Step 3: Combine and Chill
Here comes the magic. Pour your hot cream mixture over the chopped chocolate and let it sit untouched for exactly 2 minutes – no peeking. Then, stir slowly with a wooden spoon until it becomes this gorgeous, glossy chocolate ganache. Add the vanilla and give one final stir. Now comes the hard part – patience. Pop it in the fridge for 2 hours until it firms up enough to scoop.
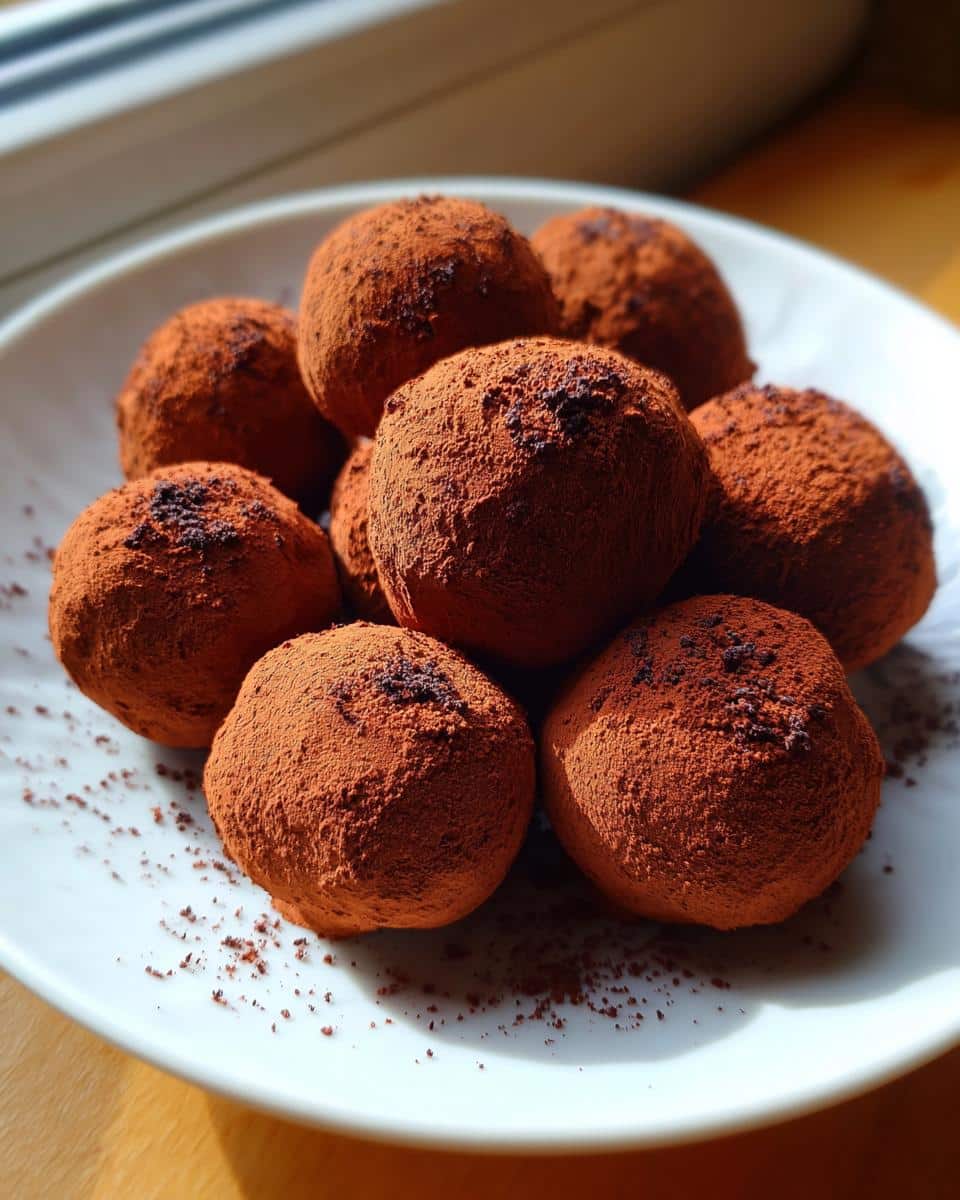
Step 4: Shape and Coat
Time to get your hands chocolatey. Scoop tablespoon-sized portions (I use a small cookie scoop for perfect rounds) and quickly roll between your palms. Work fast – the warmth of your hands will soften the truffles. Then roll each one in cocoa powder – I like to do this in a shallow bowl. Pro tip: Dust your hands with cocoa too to prevent sticking. Arrange them on a parchment-lined tray and chill again for 30 minutes to set.
Tips for Perfect Chocolate Truffles
After making countless batches (some better than others), I’ve learned a few tricks for foolproof truffles every time. First – splurge on good chocolate. Cheap chocolate makes grainy truffles. Second, don’t rush the chilling – that full 2 hours makes rolling so much easier. And here’s my secret: if the mixture gets too soft while rolling, pop it back in the fridge for 10 minutes. Oh, and keep those hands dusted with cocoa powder – it’s the only way to prevent sticky disasters.
Fun Ways to Mix Up Your Chocolate Truffles
Once you’ve mastered the basic recipe, the fun begins. My favorite Saturday activity is playing mad scientist with truffle flavors. Try stirring in a teaspoon of instant espresso powder for coffee lovers, or mix in some orange zest for a bright citrus twist. For crunch, roll the finished truffles in chopped nuts instead of cocoa powder – pecans are heavenly. Feeling fancy? A pinch of sea salt on top creates an addictive sweet-salty combo. The possibilities are endless, and half the joy is discovering your own signature variation. You can find inspiration for fun flavor pairings on Pinterest.
Serving and Storing Chocolate Truffles
Here’s the beautiful thing about these chocolate truffles – they’re just as wonderful to make ahead as they are to serve fresh. I always keep mine in an airtight container in the fridge where they’ll stay perfect for up to a week (if they last that long). For special occasions, I love arranging them in mini paper cups on a pretty plate – instant dessert platter. They’re fantastic at room temperature too – just let them sit out for about 10 minutes before serving so the chocolate can soften slightly. Pro tip: Layer them between sheets of parchment paper so they don’t stick together.
Chocolate Truffles Nutritional Information
Each decadent chocolate truffle clocks in at about 80 calories – totally worth it in my book. Here’s the breakdown per truffle: 6g fat (3g saturated), 6g carbs (1g fiber), and 1g protein. Remember, these numbers can vary slightly depending on your exact ingredients – especially if you use different chocolate or add-ins. But let’s be honest – when something tastes this good, who’s counting? If you are looking for other sweet treats, check out this recipe for no-bake chocolate peanut butter bars.
Frequently Asked Questions
Can I use milk chocolate instead of dark chocolate?
Absolutely, I’ve made these homemade truffles with milk chocolate when that’s all I had – they turn out sweeter and creamier. Just keep in mind they’ll be softer, so chill them a bit longer before rolling.
How long do chocolate truffles last?
These no-bake treats stay fresh in an airtight container in the fridge for about a week – if you can resist eating them all sooner. For longer storage, freeze them up to 3 months (thaw in the fridge overnight).
What else can I roll them in besides cocoa powder?
Oh, this is where the fun begins. Try powdered sugar, crushed nuts, coconut flakes, or even sprinkles for special occasions. My personal favorite? A mix of cocoa powder and cinnamon for a warm spice kick. If you enjoy warm spices, you might also like this cinnamon sugar pumpkin muffins recipe.
Can I make these dairy-free?
You bet, Swap the heavy cream for full-fat coconut milk and use dairy-free chocolate. The texture changes slightly, but they’re still delicious. Just be extra gentle when rolling – they’re more delicate.
Why are my truffles too soft?
Don’t worry – we’ve all been there. Usually it means they needed more chilling time. Pop them back in the fridge for another 30 minutes. Next time, try chilling your mixing bowl beforehand too – it helps.
Share Your Chocolate Truffles
I’d love to see your chocolatey creations. Snap a photo of your homemade truffles and tag me – nothing makes me happier than seeing your kitchen successes. Did you try any fun variations? Leave a comment below and let’s swap truffle stories. For more dessert ideas, take a look at these no-bake mini cheesecake cups.


