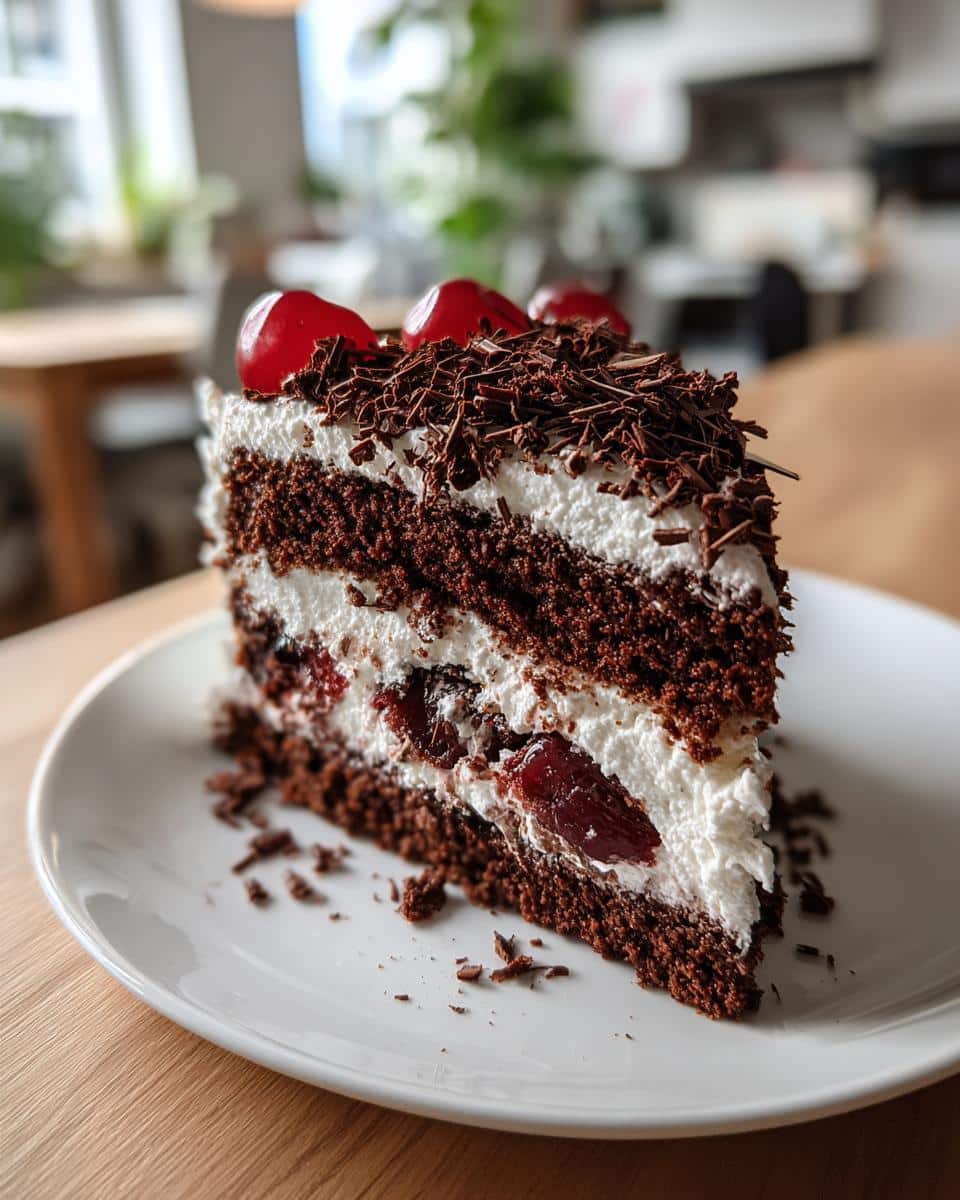
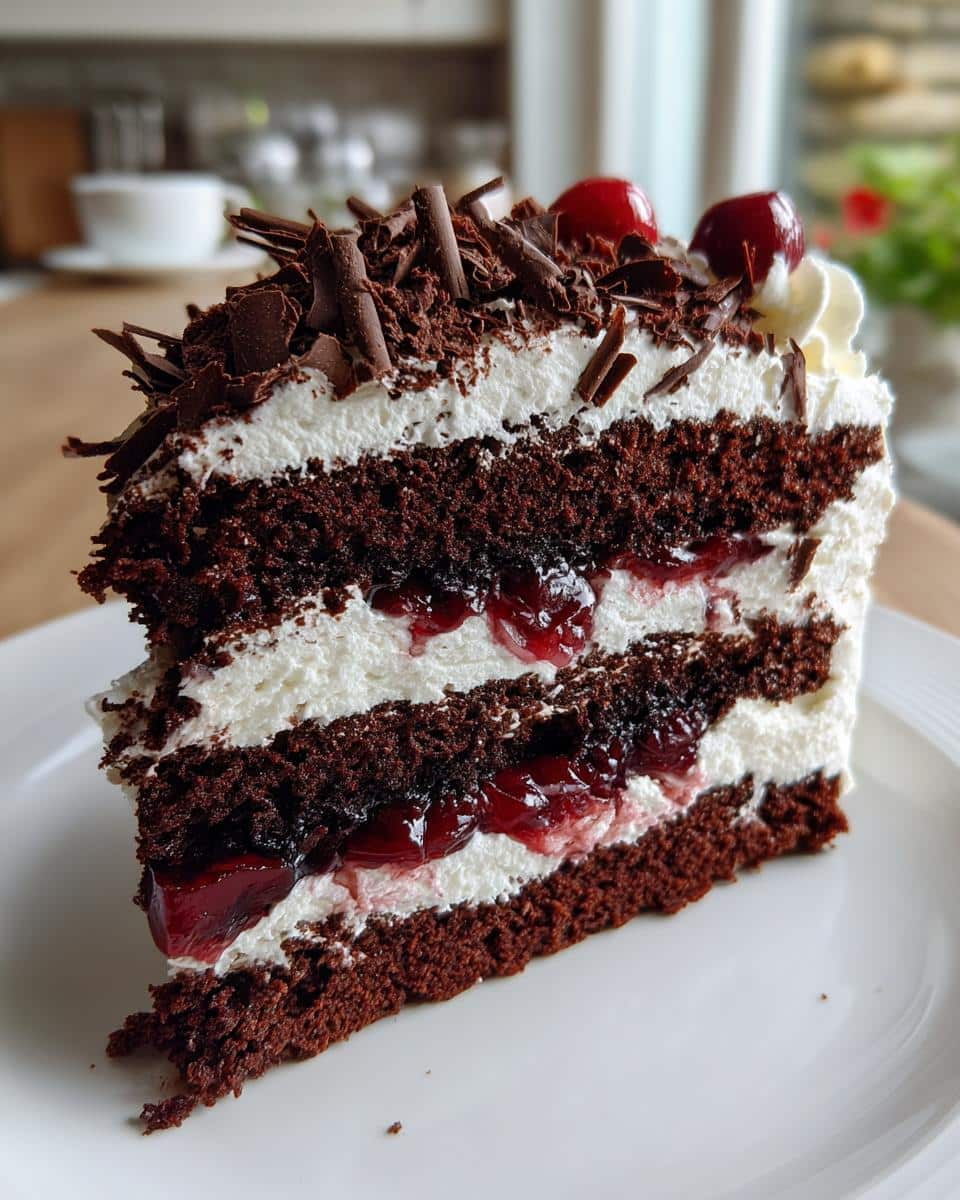
Oh, Black Forest cake – just saying the name makes me smile This German masterpiece has been my go-to celebration dessert since I first tasted it at a tiny café in Munich years ago. That perfect balance of rich chocolate sponge, billowy whipped cream, and tart cherries? Absolute magic. What makes it truly special is how each bite delivers layers of texture and flavor – the slight crunch of shaved chocolate against the soft cream, the juicy burst of cherries cutting through the cocoa richness. It’s not just a cake; it’s an experience.
My version stays true to the classic while adding a few personal touches I’ve picked up over countless baking sessions (and happy accidents). Whether you’re making it for a special occasion or just because Tuesday deserves cake, this Black Forest beauty never fails to impress. The best part? It’s easier to make than you might think – as long as you follow a few key tricks I’ll share with you.
Table of Contents
Ingredients for Black Forest Cake
Gathering the right ingredients is half the battle with Black Forest cake – but don’t worry, I’ve kept the list simple yet precise. Here’s what you’ll need to create that perfect balance of flavors and textures:
- 200g all-purpose flour (sifted – trust me, it makes a difference)
- 50g cocoa powder (I prefer Dutch-process for deeper flavor)
- 200g sugar (regular granulated works perfectly)
- 4 large eggs (room temperature is key for volume)
- 1 tsp baking powder (for that perfect rise)
- 100ml vegetable oil (keeps the sponge wonderfully moist)
- 200ml heavy cream (chilled – it whips up better when cold)
- 400g pitted cherries (fresh if possible, see notes below)
- 50g dark chocolate (for shaving – go for 70% cocoa)
- 1 tsp vanilla extract (the good stuff, not imitation)
Ingredient Notes & Substitutions
Don’t stress if you can’t find fresh cherries – frozen (thawed and drained) work in a pinch. For gluten-free folks, swap the flour with a 1:1 gluten-free blend. Regular cocoa works if you don’t have Dutch-process, but add a pinch of espresso powder to deepen the flavor. And if you’re feeling fancy, a splash of kirsch (cherry liqueur) in the whipped cream takes it to the next level.
How to Make Black Forest Cake
Alright, let’s dive into making this beauty. The process is simple when you break it down – we’ll tackle the chocolate sponge first, then move on to the fun part: assembling all those gorgeous layers. Just follow these steps, and you’ll have a showstopper Black Forest cake that’ll have everyone asking for seconds.
Preparing the Chocolate Sponge
First things first – preheat your oven to 180°C (350°F) and grease your cake pan really well. I like to line the bottom with parchment paper too – it’s my safety net against sticking disasters.
Now, sift together the flour, cocoa powder, and baking powder. This isn’t just busywork – sifting removes lumps and gives us that light, airy texture we want. In another bowl, beat the eggs and sugar together for a good 3-4 minutes until they’re pale, fluffy, and form ribbons when you lift the whisk. That’s your sign they’re ready.
Gently mix in the oil and vanilla, then fold in your dry ingredients. And when I say fold, I mean it – no vigorous stirring We want to keep all that air we worked so hard to incorporate. Pour the batter into your prepared pan and pop it in the oven for 25-30 minutes. You’ll know it’s done when the top springs back when lightly pressed.
Assembling the Black Forest Cake
Once your chocolate sponge is completely cool (patience is key here), carefully slice it horizontally into two even layers. This is where a serrated knife and a steady hand come in handy.
Whip your chilled heavy cream until it forms stiff peaks – don’t stop too soon or it’ll be runny, but don’t go too far or you’ll get butter (trust me, I’ve done both). Spread about a third of the cream over the bottom layer, then arrange half of your cherries on top. Place the second cake layer gently on top and repeat with more cream and cherries.
Now for the finishing touch – grab your chocolate and a vegetable peeler to make those beautiful chocolate shavings. Scatter them generously over the top, and if you’re feeling fancy, pipe some decorative cream rosettes around the edges. Pop it in the fridge for at least an hour before serving – that chilling time lets everything set up perfectly.
Tips for Perfect Black Forest Cake
After making this cake more times than I can count, I’ve learned a few tricks that make all the difference. First, chill your mixing bowl and beaters before whipping the cream – it helps the cream hold its shape beautifully. Second, use dental floss (unflavored) to slice the cake layers evenly – just pull it straight through for perfect layers every time.
My biggest tip? Don’t overmix the batter once you add the dry ingredients – a few flour streaks are okay. Overmixing makes the sponge tough instead of light and airy. And if your cherries are extra juicy, pat them dry with paper towels before layering to prevent soggy cake. One last thing – always assemble on a cake board or plate first, because moving a fully decorated cake is asking for trouble.
Serving and Storing Black Forest Cake
This beauty is best served chilled – I like to take it out of the fridge about 15 minutes before slicing to let the flavors shine. Serve it with strong coffee (the bitterness balances the sweetness perfectly) or a glass of cold milk for the ultimate treat. Store any leftovers covered in the fridge – though let’s be honest, there usually aren’t many. It’ll keep beautifully for about 2 days, but I don’t recommend freezing it since the whipped cream doesn’t thaw well. Pro tip: If you want to prep ahead, bake the sponge layers up to a day in advance and assemble just before serving.
Black Forest Cake Nutritional Information
Just so you know, these numbers are estimates – but here’s the scoop on what’s in each glorious slice of this Black Forest cake: about 350 calories, 18g fat (8g saturated), 45g carbs (3g fiber), and 5g protein. Remember, portion sizes can vary, but honestly? Some treats are worth every bite.
FAQs About Black Forest Cake
How do I prevent soggy cake layers?
Three words: dry those cherries. Whether fresh or canned, blot them well before layering. Another trick? Brush your cake layers with a thin layer of whipped cream before adding the cherries – it acts like a moisture barrier.
Can I make this cake ahead of time?
You bet, Bake the chocolate sponge up to 2 days in advance (wrap tightly in plastic), but wait to assemble until the day you’re serving. The whipped cream stays freshest this way. If you must assemble ahead, keep it refrigerated no more than 6 hours before serving.
What’s the best way to slice the cake layers evenly?
My favorite trick is using unflavored dental floss – just pull it straight through the cooled cake at the halfway point. If you’re nervous, you can also mark the sides with toothpicks as guides before cutting with a serrated knife.
Can I freeze Black Forest cake?
I don’t recommend it – the whipped cream gets weird when thawed. However, you can freeze the unfrosted chocolate sponge layers for up to a month. Just thaw at room temperature before assembling with fresh cream and cherries.
Share Your Black Forest Cake Experience
I’d love to see your Black Forest cake creations, Snap a photo and tag me on social media – nothing makes me happier than seeing your baking triumphs. Did you put your own spin on it? Tell me all about it in the comments below. Share your experience.
To discover more delicious recipes, click here .
Follow us in Facebook
PrintIrresistible Black Forest Cake Recipe in 5 Easy Steps

A classic Black Forest cake with layers of chocolate sponge, whipped cream, and cherries.
- Prep Time: 20 mins
- Cook Time: 30 mins
- Total Time: 50 mins
- Yield: 8 servings
- Category: Dessert
- Method: Baking
- Cuisine: German
- Diet: Vegetarian
Ingredients
- 200g all-purpose flour
- 50g cocoa powder
- 200g sugar
- 4 eggs
- 1 tsp baking powder
- 100ml vegetable oil
- 200ml heavy cream
- 400g pitted cherries
- 50g dark chocolate (shaved)
- 1 tsp vanilla extract
Instructions
- Preheat the oven to 180°C (350°F).
- Sift flour, cocoa, and baking powder together.
- Beat eggs and sugar until fluffy, then mix in oil and vanilla.
- Fold in dry ingredients until smooth.
- Pour batter into a greased pan and bake for 25-30 minutes.
- Cool the cake, then slice into layers.
- Whip the cream until stiff peaks form.
- Layer cake with cream and cherries, then top with shaved chocolate.
Notes
- Use fresh cherries for best results.
- Chill the cake before serving for easier slicing.


